

Introduction.
When it comes to hosting a static website on AWS, there are two powerful services that stand above the rest: Amazon S3 and Amazon CloudFront. Say goodbye to slow-loading pages and hello to a blazing-fast web experience using these services.
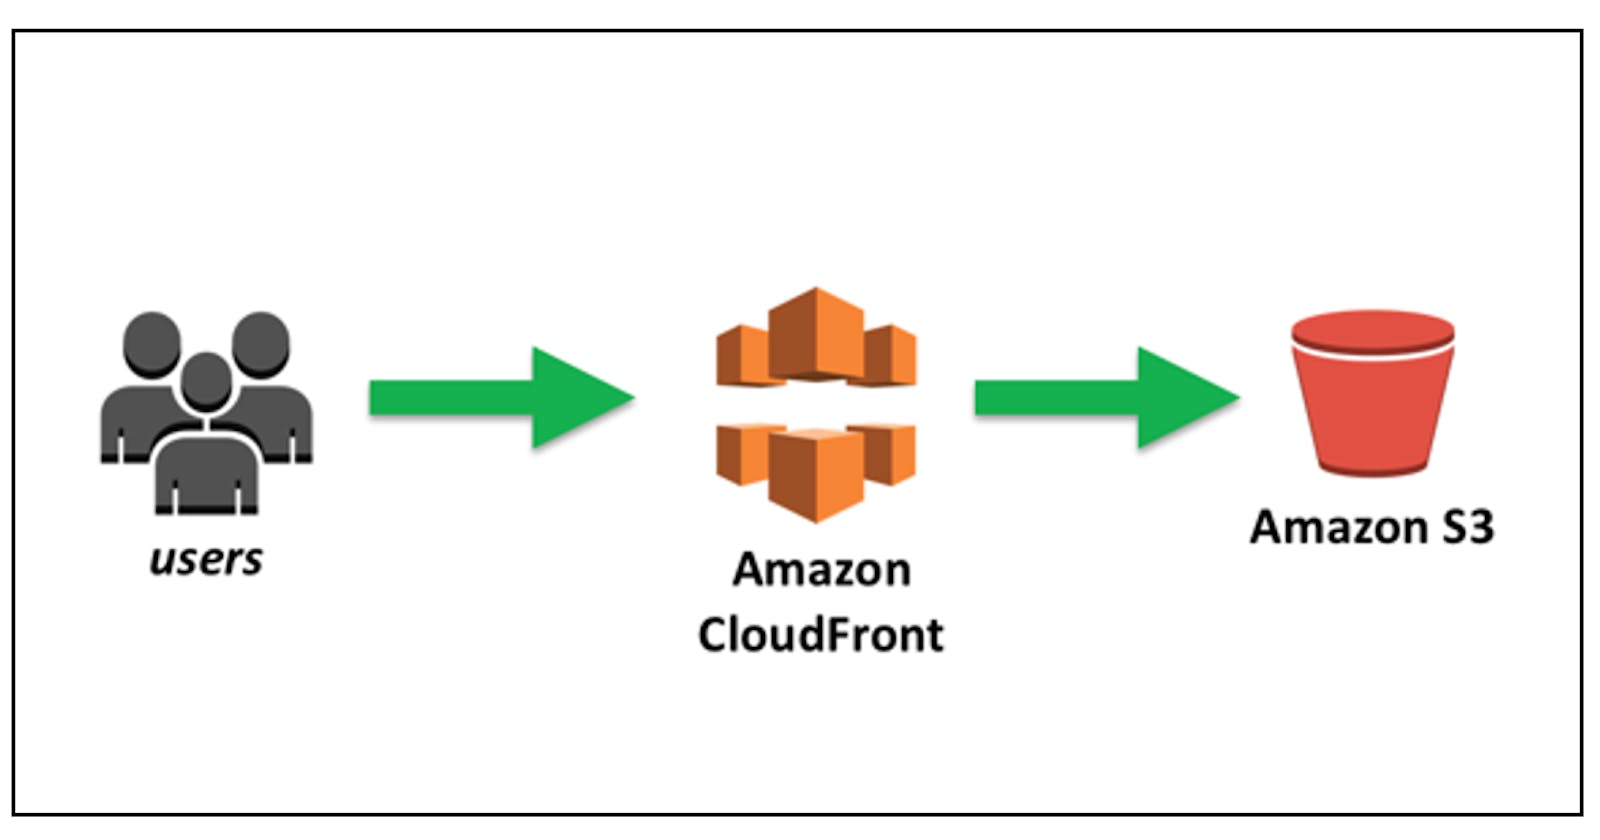
This article is a walkthrough on how to deploy a static website on AWS using S3 for storage and as an origin (the location where content is stored, and from which CloudFront gets content to serve to viewers) and CloudFront for caching.
Services Required
S3: used to create a bucket and upload source code.
Cloud front: AWS global content delivery network, that speeds up distribution of your static and dynamic web content (such as .html, .css, image and .js files) to your users.
Steps
1. Login to your AWS account from the management console's home page, and search for s3 using the search bar or from recently visited or from a list of favourites (click on s3).

2. On S3 dashboard, click the create bucket button to create a bucket.

3. Name bucket (a unique global name).

4. Disable the block public access settings for this bucket, so as to make it publicly visible, then acknowledge.

5. A bucket is created.

6. Upload source code (either via drag and drop or manual upload) to the bucket (this took a while because some folders had loads of files).

7. Go to the permissions tab to secure the bucket via IAM.

8. Edit the bucket policy and ensure the resource is the current bucket's name.

9. Notice this bucket is now publicly accessible (this is required for static website hosting).

10. Click Edit static website hosting and enable static website hosting, then specify your index and error document or page.

11. Copy the bucket website endpoint and paste it into a browser.

12. Notice that the website is visible using the bucket website endpoint.


13. Search for Cloudfront on the search bar.

14. On the CloudFront dashboard, create a CloudFront distribution using create a CloudFront distribution.

15. Name the origin domain bucket website endpoint (do not select from dropdown), and leave other fields with their default values.


16. The CloudFront distribution has been created and is still in the deploying state.

17. Cloudfront is now in the enabled state, copy the domain name and paste it into the browser.
NB: When Cloudfront is in an enabled state, it attaches to S3 and starts caching S3 pages (this may take a while), once this is done, the Cloudfront domain name URL will stop redirecting to the S3 object URL.

18. The website can be accessed via:
website endpoint

CloudFront URL

S3 object URL

I cleaned up by deleting the objects (files) in my bucket and my Cloudfont distribution.
Notice the difference between each URL (note that these URLs are currently inactive because the resources have been deleted)
Thank you for reading.